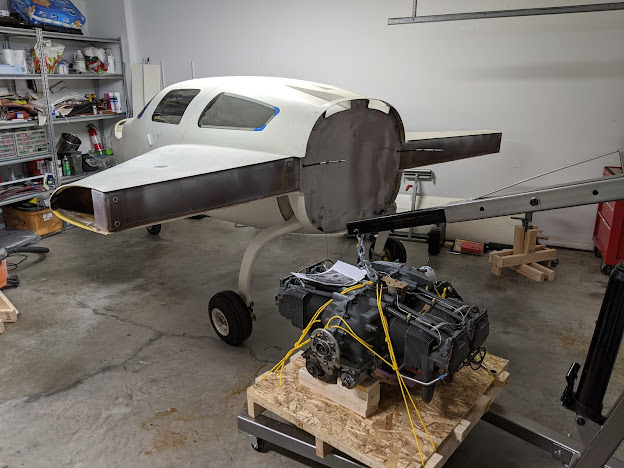
Convert engine for fixed pitch, install prop extension | 11.14.2020
 |
| Much cleaner, and way more room to work on the back side of the kit. |
The next task was to convert the engine for operation of a fixed pitch propeller. Basically, we need to plug the hole at the end of the crank where the constant-speed prop would typically get its oil. This is pretty critical, because loss of this plug would result in oil being basically pumped overboard.
This is all covered in Lycoming Service Instruction #1435, which details what to install/remove to convert between the two setups. To sum it up, for fixed pitch, there needs to be an outer plug installed at the end of the crank to hold the oil in and a hole in the inner plug opened up to allow oil to flow back into the case. For constant-speed, you would have no outer plug, and the inner plug would need to have no hole.
There's two different styles of cranks, one has a solid plug in the rear and the other has a plug with a 1/8" hex pipe plug in it. For the solid plug style, the plug either needs to be pierced (usually with a long screwdriver) or removed entirely. For the "plugged" style, you just need to unscrew the plug with a long (quality) hex bit. I had the second style, which I like as it will be slightly easier to convert back to constant-speed if desired. Here's the diagram to go with all the blabbing:
I *highly* recommend buying a *quality* 3/8" drive, *non-ball end* 3/16" hex bit to do this with if you have this style. You will need an extended length hex section to get around the oil line that's in the way in the shank. I used this Gearwrench brand bit, since I've used their tools before and they seemed high quality, but honestly if I were to do it again this is one of the few times I'd spring for Snap-On, Mac, or Matco. Even this bit had more flex than I'd like, and if you break off the tip inside the plug, you're going to have a really bad time.
While removing the inner plug, I also took the time to clean the inside of the crank and inspect for corrosion, since this is an area where Lycoming has issued an SB for this in the past. This engine has a very recent overhaul, so it shouldn't be an issue, but figured I'd look while I had a chance. Everything looked great.
After removing the inner plug, the next step is to install the outer plug. This plug (P/N STD-1211 in the figure above) arrives convex. Gasket maker/sealant (I used Permatex #2) is applied to the plug/flange, and then the plug is hammered inward with a heavy mallet and something slightly smaller than the inside diameter of the crank.
 |
| Here's ours. |
After finishing that up, we cleaned up the mating surfaces and installed the starter ring gear and the 8" Saber Mfg prop extension. This moves the prop further to the rear of the plane to clear the cowling, wings, etc. This thing is honestly a piece of art. Once installed, we torqued the bolts per the install guide. I have not safety wired these yet, as It should be easier once it's off the ground mounted on the plane.
 |
| So shiny and well machined. |
That's it for now!
- Jeff


Comments
Post a Comment