Posts

Showing posts from December, 2020

ELT hardpoint and canard tip layups | 12.27.2020

Image
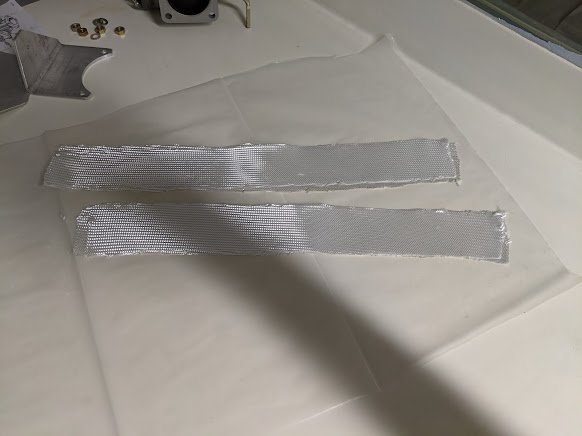
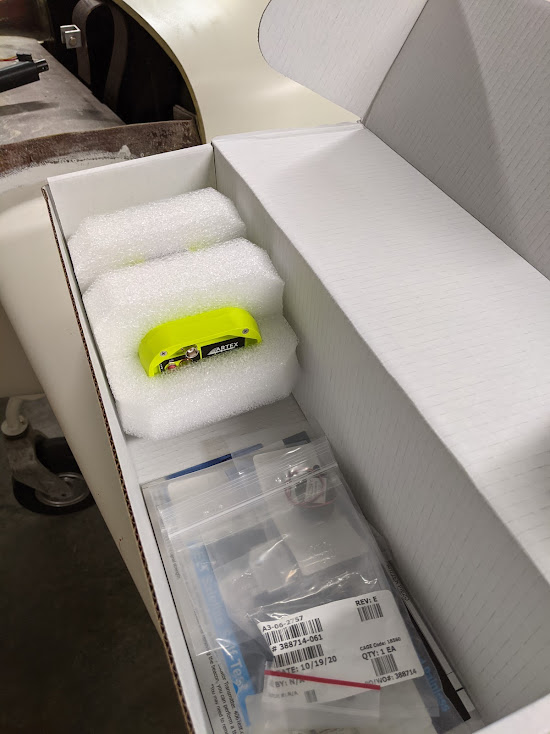
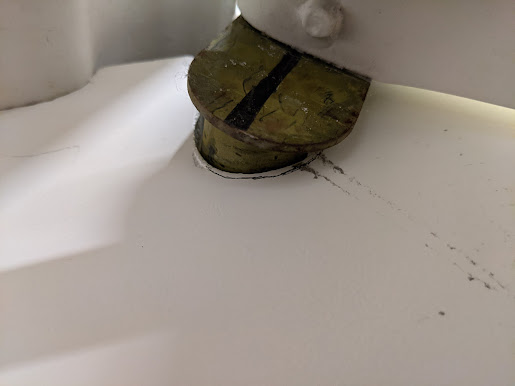
Did the layups on the ELT hardpoints and canard tips. Glass cut to size. 2 plies bid The manual calls for a single ply of bid here, but there was room for two plies with the thickness, so I just did two. Theoretically this will be stronger, but I doubt it's needed. I just wasn't so sure about the structural adhesive being the only thing holding it on really. Left tip Right tip The ELT hardpoints were potted with micro and then glassed over with two plies bid. That's all for now! - Jeff

Pitot mast fabrication and mounting | 12.26.2020

Image
Worked on the pitot mast fabrication and mounting. Started with the angle cut pitot mast and a piece of flat steel. Sanded, cut mast Flat steel cut/ground to shape Once I had those two pieces I welded them together using a flux core (ew) welder. Gross, but it's what I have and it's definitely good enough for securing a piece that'll never be seen. I'll spare you the pictures of the welds before they were cleaned up... embarrassing. Let's just say I'm not a welder. They're functional. Once they were welded together, I used a drill to remove most of the center material, and then cleaned up with rest with a dremel cutoff wheel and then sanding wheel. Drilled out. After cutting and sanding.   After that was done, I installed the pitot tube to the mast and did a bunch of test fits. Once I was satisfied with how I had bent the flange, I applied structural adhesive to the mount and pulled it down into place. Mast installed on pitot tube.   The plane was then levele

Merry Christmas | 12.25.2020

Image
No progress today... It's Christmas. :) - Jeff

ELT hardpoints, started pitot mount install | 12.24.2020

Image
It's Christmas Eve and we had nothing planned except a lazy day around the house. While we relaxed all morning/mid-day, I worked on purchasing the switches, switch caps, fuse boxes, relays, etc for the electrical system. More details on that stuff as we hit that point. There's been a lot of "off blog" electrical/avionics planning, and all that stuff is coming soon, hopefully. For actual work on the plane itself, I took it pretty easy. Started with the ELT hardpoints since our ELT came in and needs to be mounted. For the non-pilot (family) readers, an Emergency Locator Transmitter (ELT) is a small(ish) box that is rigidly mounted to the airframe and has sensors inside to detect the forces of a crash. When a crash is detected, it broadcasts a signal (406MHz) that is monitored by satellites and can also be tracked by search and rescue teams from the air. The newer units that are monitored via satellite have an accuracy that can give an initial fix to within a 1-3 mile ra

Sparrow strainer woes, canard tips | 12.23.2020

Image
Since the canard was mounted, we can now work on wrapping up the rest of the canard tasks. First, the elevator has a slight rubbing/binding feel at the bottom end of the down travel. Investigated and found that the torque tube rubbed where it came out of the fuselage. Marked where this was occurring (on left side) so that I can relieve this area some to match the other side and fix the rubbing. Rubbing with pen marking where I want to cut this area down to. After this, I was going to work on making mounting flanges for the sparrow strainer (aerodynamic trim), but when I attached the strainer to the elevator, I realized that this had been constructed upside down. This is one of very few things I've found that had been done wrong, so no big The airfoil should be the other way around. At this point, I tried to heat up the mounting pieces on the sides to pull them off, but the heat gun overheated the airfoil and melted the foam inside before the resin attaching the two let go. This par

Mount left rudder, install wingtip light hardpoints, oil access door | 12.20.2020 - 12.21.2020

Image
Was on a pretty good streak of working on the plane every day for a while there, but took the 19th off to fly to Murfreesboro with my father in law to pick up our deer meat from the processor. Rolling shutter always makes for nice pictures of the prop. Won't be a problem in our plane, since the prop's in a better spot. ;) By the 20th, I had thought about the wingtip light mounting some more and come up with a plan. Basically, I needed a way to mount a hardpoint from the inside, but didn't want to have to re-glass the tips after I was done. Besides, it seemed like there was not much in there to adhere the hardpoint to if I just did the traditional approach of: cut glass out, adhere in aluminum, and glass back over the aluminum. I figured that I would remove enough material to slide in a rectangular hardpoint that had already been tapped, coated in adhesive, and screwed to the light. I would then tighten down the light while the adhesive cured, and then I'd have an alumin

Fresh air scoop SCAT flange, verify left wing, mount left aileron | 12.18.2020

Image
We received our Aveo PowerBurst NG wingtip light set today. These lights function as our nav/position lights and strobes in one package, using fairly low power (yay LEDs) compared to traditional light setups. These lights also have a white position light that shines backward, which is great because we don't have a tail to mount a white rear position light on. We tested these and they are *bright*. Somehow I didn't get a picture of this, but I'm not sure you'd really be able to see much anyway. Too bright. Since we received the tip lights, I sat down next to the wing and thought about how to mount these, and didn't come up with anything great. Since this hurt the brain, I moved on to other things after a while. Here's where these need to be mounted. The nutplate sits proud of the surface and will need to go. I moved on to addressing the fresh air scoop. I had mounted the scoop earlier, but this will need to have a SCAT tube connected that runs to the vents that p

Mount right rudder | 12.17.2020

Image
Short one for today. Sanded the repairs to the right rudder and everything looked good, so went ahead and mounted it so that we could get the wing out of the way to make room for the left wing on the sawhorses for inspection/work. Tip had been hit and micro/cabo came off. Repaired with cabo as the manual recommends for this. The rudder mounted without much fuss. The Stabells had done a great job mounting the hinges and getting everything lined up when they did this years ago. The right rudder looks like it won't need any shimming (for the first flight at least), seems to line up with the bottom winglet as expected. Rudder mounted And I'll leave you with a video of the rudder in action. - Jeff

Clean and repair cowls, CHT probes | 12.14.2020 - 12.16.2020

Image
Since the Stabells had planned to install a Deltahawk diesel engine, they were going to need a different cowl. At one point, they had attempted to make the existing cowl work by modifying it to fit. Since they had a mock-up of the engine on a mount, they mounted the engine and cut holes in the bottom cowling to fit the mockup. I assume at some point, they would have glassed in bump outs for the various components. Erik with the modified cowl Ultimately, they abandoned this idea and fabricated their own custom cowl from scratch, but the original cowl was left with the cutout holes. Since we're using the standard IO-360, the cowl will pretty much fit with minimal need for modification. We'll have to bump a few little things out, but first, we'll need to patch the holes. First up was removing the adhesive and foam from the cowls. I think they applied the foam to try to use the originals as a mold at some point, but I don't have any pictures to confirm that. We tried everyt