Posts

Showing posts from October, 2020

Micro filler, door hardware | 10.29.2020 - 10.30.2020

Image
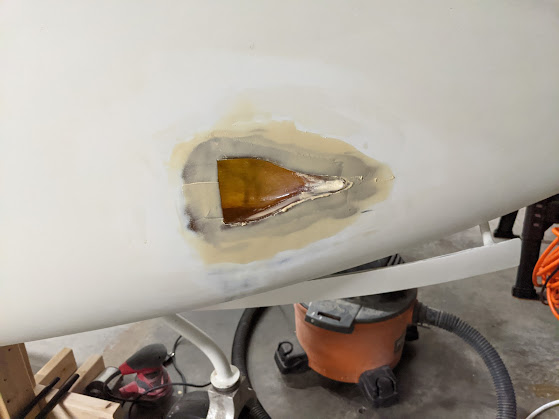
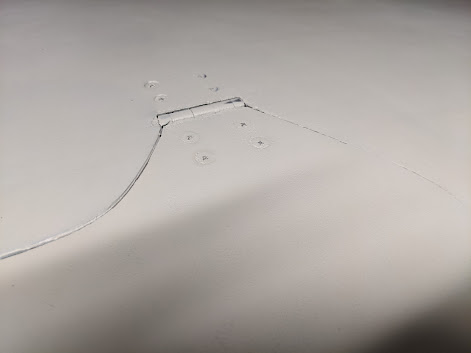
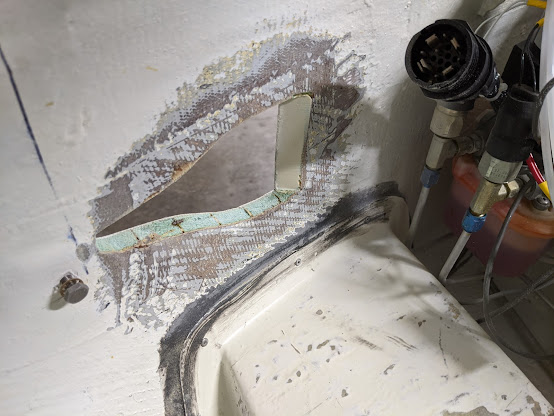
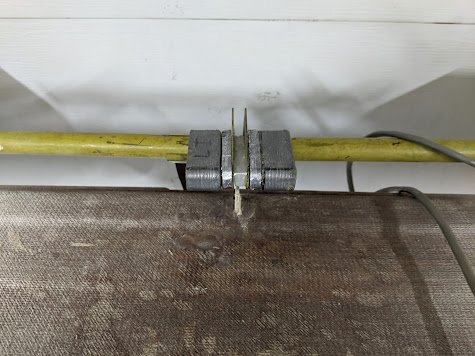
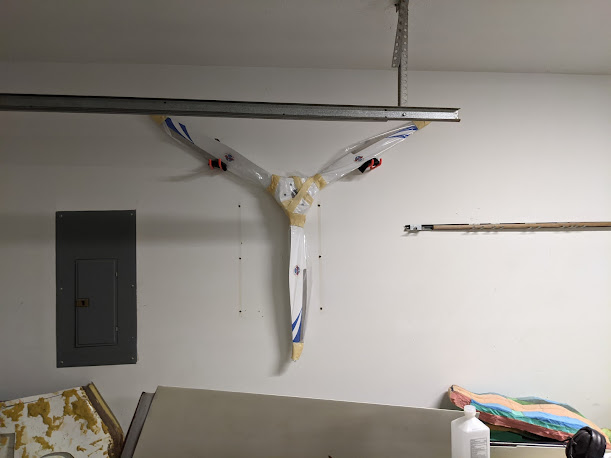
On the 29th, Micro-bubble was applied around the nose scoop to fair it in. Also hit some other areas that needed filled. This will get sanded later. Yay sanding. On the 30th, Emily and I worked on getting all the door hardware situated. On the co-pilot's side, that included lining up and drilling for the roll pin on the co-pilot's security lock. I didn't have a roll pin around, so had to order one and set it aside. Hole drilled for roll pin later. Helpful diagram in background. Also finished the cotter pins since they were all half-bent awaiting the security lock install. Each of the bars shown goes to one of the door pins that holds the door securely in place when locked for flight. Cotter pins done From there, we moved on to installing the pilot's side lock cylinder. This turned out to be a huge pain to get centered from the back side and held in place. First, the lock body is ground down to sit behind the outer door skin. This is then glassed in place from the inside

Door hinge permanent install | 10.27.2020

Image
The plans call for the door hinges to be permanently bonded to the door with structural adhesive. This hadn't been done, so we knocked it out. Since the hinges get bonded permanently, there's not much need to access the screw heads, so they get covered with micro for aesthetics (and maybe it buys you .1 knot). With that being said, the screws weren't countersunk quite deep enough, so the first task was to countersink them deeper. Before After Once that was done, we applied structural adhesive and reinstalled the screws. Note that this is not really a one person job. Lining the holes up, holding the door up, getting the screws in; all easier with an extra set of hands. The screws have always been too long, so I took the opportunity to cut them off with an oscillating saw the next day and then hand filed them flush. Before After - Jeff

Fresh air NACA, micro/BID on exposed foam | 10.17.2020 - 10.25.2020

Image
Sanded around the interior of the fresh air NACA cutout for eventual interior glassing. The issue here was that I couldn't sand all of the paint off without starting to cut into actual glass. I did the best I could to balance removing paint and removing glass. Thankfully this isn't structural or anything, and the paint is *really* bonded on there, so a little under the glass shouldn't be a big deal. Paint removed as best as I could. I also filed the micro on the 45 degree edge on both scoops nice and flat: Fresh air scoop Oil cooler scoop Since I was going to be making some micro to install the fresh air scoop, I also removed foam wherever I could find it exposed to fill. This helps seal things up so there's no exposed foam on the outside of the plane. All of these now empty voids were filled with micro.   After that, the fresh air scoop was installed with a healthy amount of micro. This is just to hold it in place and fill some voids on the back side, rather than tacki

Elevator balance, more nose gear strut (urg) | 10.16.2020

Image
Started the evening by attaching the additional elevator balance weights to the elevator per the new Velocity recommendation. To get the elevator to balance properly, I also added more weight on the center as well. Used the other "half" that was cut from the outboard weights. This is off-plans, but needed to balance out. I guess I have a slightly heavier than normal elevator. Center weights, with extra. Outboard weights Will need to notch into the canard tips to make room for the added weight. Weights slightly more than needed right now. This will balance out when final paint is applied to elevator. With the counterweights on the elevator done, I moved to the nose gear strut... again. Re-installed the longer strut... again, and attempted all sorts of adjustments after talking to Scott Swing. Nothing worked; the geometry of the gear system with the ever so slightly longer strut just doesn't work. As an illustration of just how little difference this is: old strut (center t

Catto prop, gold box cap | 10.14.2020

Image
Received a very exciting package today from Catto Propellers. Typically, Catto has a very long backlog where you place an order, wait 3-6 months, then receive your prop. They're popular people, and they apparently make a very in-demand product. We managed to skip this line. Basically, someone with another Velocity SE-RG had ordered a prop, Catto had made it, and then they needed to back out or sell their plane or something; I never got the full story. I talked with Nicole on the phone about what I wanted and had ordered a 66" Diameter x 74" Pitch, 3 blade prop with nickel leading edges when she called me back a day later and told me that they actually had one in stock that they had built for someone else's SE-RG that they could sell me and ship immediately, as long as I was okay with blue painted tips. Obviously I jumped at the opportunity. On the wall out of the way for safe keeping until the engine's ready for it.   I also soldered the new capacitor into the ret

Fresh air NACA, strake pocket | 10.12.2020

Image
Finally got some jigsaw blades and cut out the fresh air NACA scoop. Was blown away at how strong the little piece of fuselage that came out was, and will be saving it as an example of how strong the composite fuselage is. Notice the long sleeves? I learned a lesson last time I made fiberglass dust. Scoop needs trimmed While I was making dust, I figured it would be a good time to recess the inner lip of the strake pockets and set the glass that I had cut to size in place. These were just held in place with microglass, will also get 1 ply BID over the whole thing to finish edges after filling. I also microbubbled the exposed foam edge of the fresh air scoop at a 45 to be covered with BID later. I'll file it flat later. - Jeff

Fuel vent/fresh air drain tubes, oil cooler flapper valve | 10.10.2020

Image
On a previous day, I installed the aluminum fuel and fresh air vent lines down through the fuselage and glassed them in place on the floor inside the plane. I didn't finish them on the bottom of the fuselage though, as I was waiting for the epoxy to cure. Drilling the hole for the sump tank reminded me that I hadn't done that yet, and I took a bit of time to finish this up. The manual specifies that the fuel vent needs to be cut at a 45 degree angle facing forward on the plane. I assume that this is to provide a very slight positive pressure so that the engine isn't struggling to pull air into the tanks as it uses fuel. If this was blocked, it would basically try to pull a vacuum in the tanks. Fuel vent in the front, fresh air drain behind it. I also installed the heater flapper valve. When shut, this diverts hot air heated by the oil cooler into the cabin to provide a small amount of heat should it be needed. When open, it covers the vent tubes and allows the air from the

Sump tank low fuel sender and drain hole | 10.9.2020

Image
Inside the cabin behind the main gear is a ~3 gallon fuel header (sump) tank. This tank is fed by lines from the two main tanks in the strakes via gravity and then this tank feeds the engine. This tank also provides the sump drain where you can drain some fuel out the bottom into a tester to ensure there's no water in the tanks before flight. Water is heavier than fuel, and should settle to the bottom of this tank. Since this is a 3 gallon tank at the low point in the system that feeds the engine directly, we can put a last minute warning device here to alert us of a critically low fuel condition. Assuming it alerts at 2 or 2.5 gallons, it gives us at least 15 - 20 minutes (at cruise power) to get the plane on the ground before we run out of fuel. We can tie this sender into the electronic instrumentation that we plan on using and it will give us an audio and visual alert if fuel is low and we need to get on the ground. To be clear, typical aviation fuel planning should never resul

More nose gear strut, fresh air NACA scoop, start door lock install | 10.8.2020

Image
Wanting to check some things, I removed the nose gear strut that wasn't working and installed a fit piece of drilled bar stock that matched the correct length of the nose gear strut. The Stabells had made this at some point, for some reason, I think. Maybe they had the same issues we are. Took the opportunity to check the over-center linkage for proper over-center angle, since I had a flat piece to set the level on. 2.4 degrees on what would be the nose gear strut (bar stock) 4.7 degrees on the other side that attaches to the cylinder 4.7 - 2.4 = 2.3 degrees over center, which is right in line with the book's call for 2-3 degrees. Awesome!   Once that was checked, moved on to fitting the fresh air NACA scoop. With the gear hydraulic pump, gear control system, and battery all on the co-pilot's side of the nose, it was a pretty tight fit to find a spot to put the scoop, but after a ton of thinking, measuring, and eyeballing, Emily and I settled on this location. It's on t