Sparrow strainer woes, canard tips | 12.23.2020
Since the canard was mounted, we can now work on wrapping up the rest of the canard tasks.
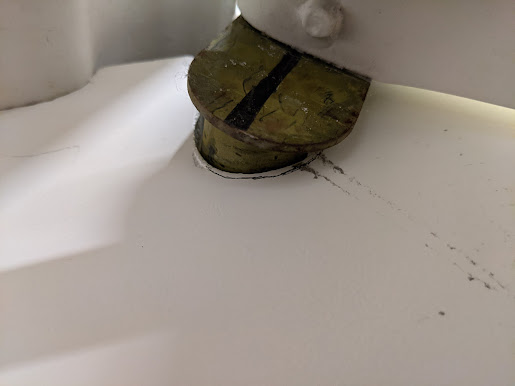
First, the elevator has a slight rubbing/binding feel at the bottom end of the down travel. Investigated and found that the torque tube rubbed where it came out of the fuselage. Marked where this was occurring (on left side) so that I can relieve this area some to match the other side and fix the rubbing.
 |
| Rubbing with pen marking where I want to cut this area down to. |
After this, I was going to work on making mounting flanges for the sparrow strainer (aerodynamic trim), but when I attached the strainer to the elevator, I realized that this had been constructed upside down. This is one of very few things I've found that had been done wrong, so no big
 |
| The airfoil should be the other way around. |
At this point, I tried to heat up the mounting pieces on the sides to pull them off, but the heat gun overheated the airfoil and melted the foam inside before the resin attaching the two let go. This part will get scrapped and I'll just have the factory ship me a new airfoil to make a new one. No big deal.
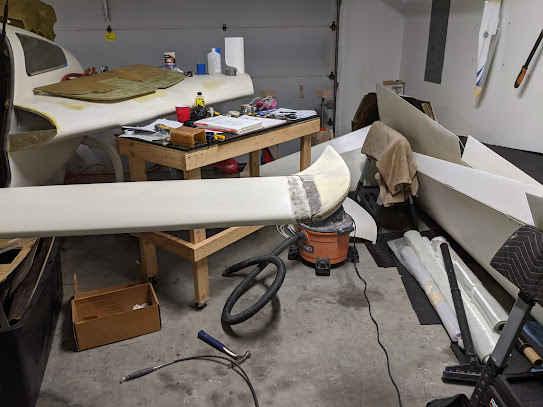
After this, I moved on to prepping and installing the canard tips.
First, the tips needed to be recessed to make room for the extra elevator counterweight that the factory is now suggesting to add.
 |
| Marked for cutting. |
Once recessed and test fit about 15 times, the mating surfaces were sanded and structural adhesive was smeared on both the canard tip flanges and into the receiving channels in the canard. I've realized that I'm not very good at getting pictures of adhering things/layups because I get too busy just getting the part in place, so no pictures, but I'll try to do better. :)
I got a good amount of adhesive oozing out as I pushed the tips into the canard, so I was sure I got a good bond in there. These will also be glassed once this adhesive cures.
 |
| Dry fit. |
 |
| More dry fit. I was able to get the tip to sit slightly more forward after this, so that it is only a little behind the trailing edge of the elevator. |
 |
| Weights to help hold the tip in the right position as it cured. Stir stick for spacing. |
 |
| Duct tape was the ticket on the other side. |
Making good progress! We'll see ya in the next one.
- Jeff

Comments
Post a Comment