Overhead panel finished, mock up panel and sub-panel outside of plane, wiring | 2.13.2021
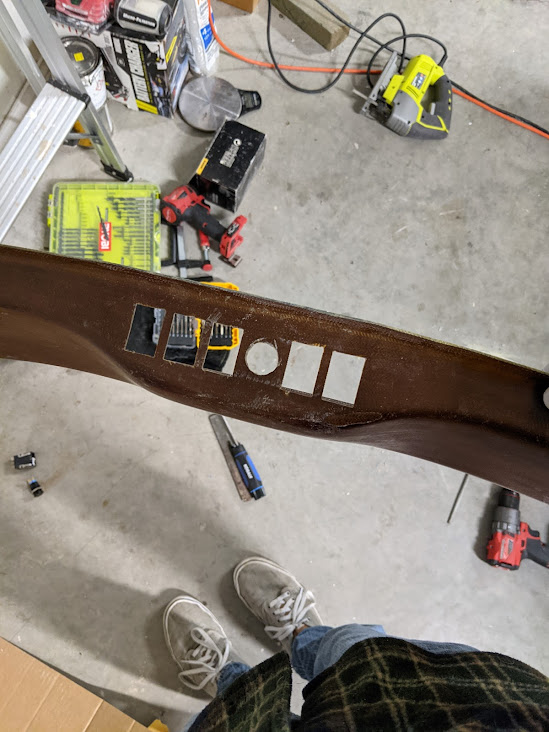
Finished the overhead panel today! Started by laying out the holes for the switches on sticky paper and then stuck that to the panel. Much like how I did the main panel. Cut those holes out with a jigsaw and finished with a file.
 |
| Holes cut/drilled. |
This was then covered with wrap just like the panel. That stuff does crazy well on curves.
 |
| Starting to attach. |
 |
| Finished product. This looks awesome, if I do say so myself. |
After it was wrapped and the switches were in, I worked on wiring up the lamp circuit to light the switches up. I also soldered pigtails onto the starter switch.
 |
| That middle one isn't nearly as tight as this picture makes it look. |
Next, Emily and I worked on mocking the panel and subpanel up on the table. The intent is that these are exactly as they sit in the plane so that I can wire the avionics without needing to measure. Did this out of some wood that I had, and then screwed everything down to the table.
 |
| Held up with some straps and wood. Luckily 3" was the perfect height, so 2x 2x4 worked well. |
 |
| Emily loves her picture taken. |
While I was soldering some stuff, I also soldered up all of the small terminal switches with pigtails.
After that, I started working on wiring inside the plane. Specifically, the changes to the "Gold Box" gear control system to work with the G3X. Larger post on those mods is coming, but for now know that I cut that bundle of wires down and pulled some to the back to go into the GEA24.
 |
| Wiring extensions to three of the wires. |
Once that work was done, I spent the next 3 hours terminating things in the back of the plane. The fuel level sensors, gear status, RPM, etc are all terminated and complete.
That's it for today!
- Jeff


Comments
Post a Comment